To write programs we need a development environment. Google recommends to use Eclipse for this purpose with Android Development Tools (ADT) plugin. In this lesson we will have a look in detail how to install and configure this development environment.
Translated by Taras Leskiv (http://android-by-example.blogspot.com/)
I will describe installation on Windows 7 operating system.
I am using this manual for installation - http://developer.android.com/sdk/installing.html
System requirements - http://developer.android.com/sdk/index.html
Before reading this lesson, I recommend to have a look at:
SDK - http://en.wikipedia.org/wiki/Software_development_kit
This article includes many screenshots and instructions. Consider that software versions are changed frequently and everything may look different on your computer and versions can be different.
1. Java SDK - JDK
As program development is in Java, we have to download and install the appropriate SDK, which is also called JDK (if it isn’t already installed, of course).
You can download it here. Version seven appeared recently. Can’t say anything about it, but some people think that it’s quite raw, that’s why I recommend using reliable version six. In the Java Platform, Standard Edition press JDK Download, tick the checkbox that you accept the licence agreement and download the file according to your operating system. There shouldn’t be any problems with installing Java SDK. After the installation you should reboot your computer.
So there are two ways to get ready to development IDE, wich consists of Eclipse IDE, Android SDK and ADT.
The first one - to download it here (Download for other platforms -> ADT Bundle) and choose the link for your version. Than you extract it and run ..\eclipse\eclipse.exe. In Eclipse you run SDK Manager (menu Window > Android SDK Manager) and go to the item number 5 of this lesson to download platformes.
The second way. If you want to install and configure manually, read further.
2. Android SDK
Android SDK includes tools that are necessary for Android application development. You can download tools here (Download for other platforms -> SDK Tools Only), choose link for your operation system. It’s recommended to download an .exe file, but I propose you to download ZIP-version and extract it into a convenient folder for you.
Note that it should be a directory "forever". You better not move this folder anywhere, because you would have to reconfigure development environment. I recommend creating directory Android somewhere. It’s highly recommended for the path to this directory to be short. <Disc name>:\android would be perfect (it’s f:\android as for me). Further we will refer to this directory as <Android>. Let’s extract our archive into this directory and we will get <Android>\android-sdk-windows.
3. Eclipse
It’s fancy and convenient development environment in which we will build and create ). We will take it from here. Google recommends us Eclipse Classic version. Let’s accept this proposal and download this version. Now extract the archive into <Android> and we will have <Android>\eclipse
4. ADT
By default Eclipse is not really good suited for Android application development. ADT is a plugin that configures the environment to use Android SDK and enables convenient development.
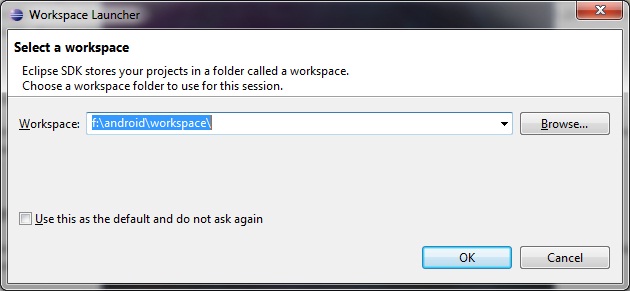
Launch Eclipse (<Android>\eclipse\eclipse.exe). When you launch Eclipse for the first time it will ask you for a working directory where it will store project files. Again, I propose not to walk far away, create <Android>\workspace directory and choose it.
Ok, now Eclipse is running. Let’s download ADT plugin.
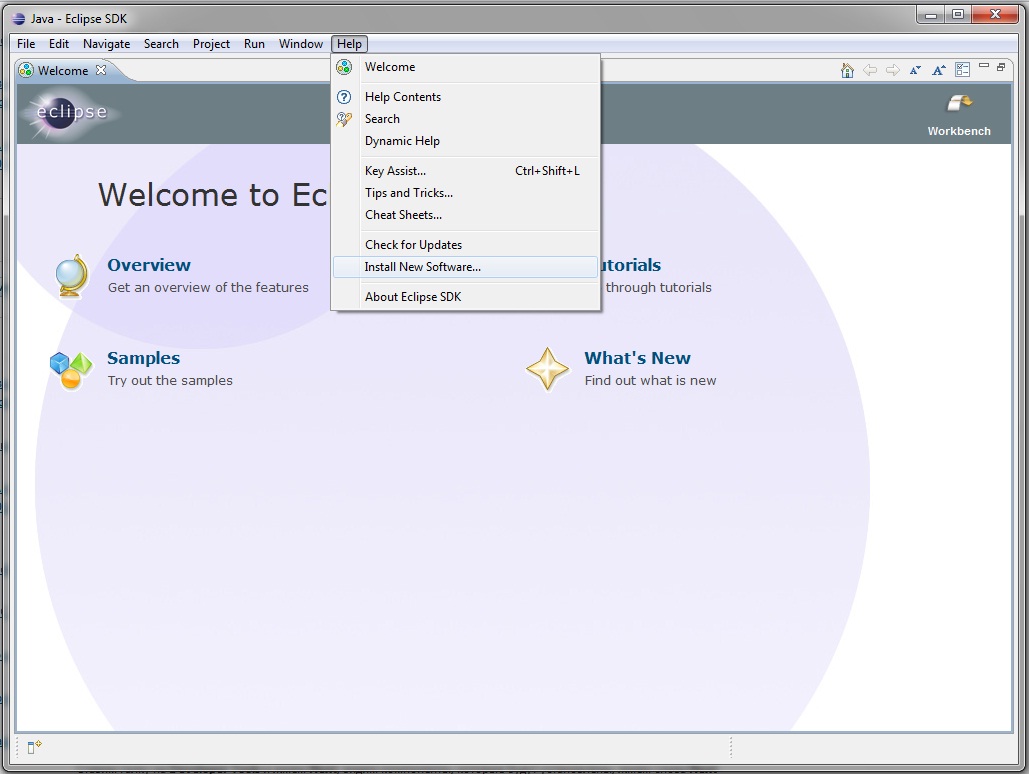
Go to Help -> Install New Software
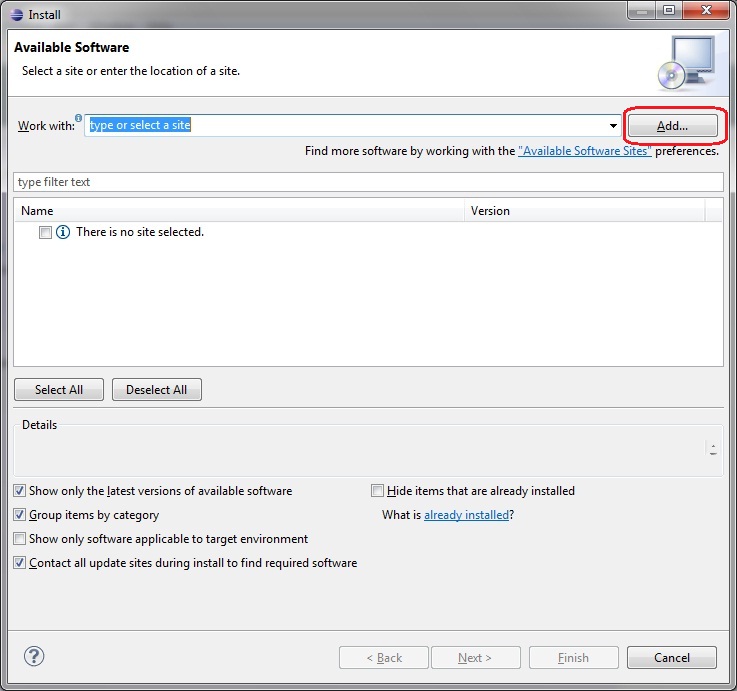
Press Add button in the upper right corner
Enter "ADT Plugin" in the Name field.
Enter URL https://dl-ssl.google.com/android/eclipse/ address in the Location field.
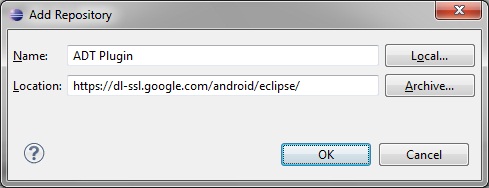
Press OK and wait until Developer Tools appear (If there are any troubles use http instead of https)
Tick Developer Tools and press Next.
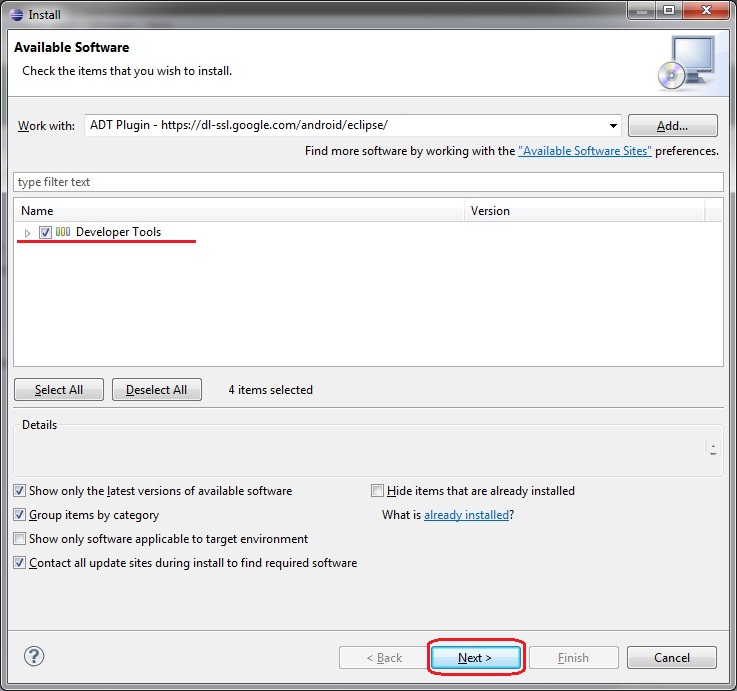
Now we can see the components that will be installed, press Next again.
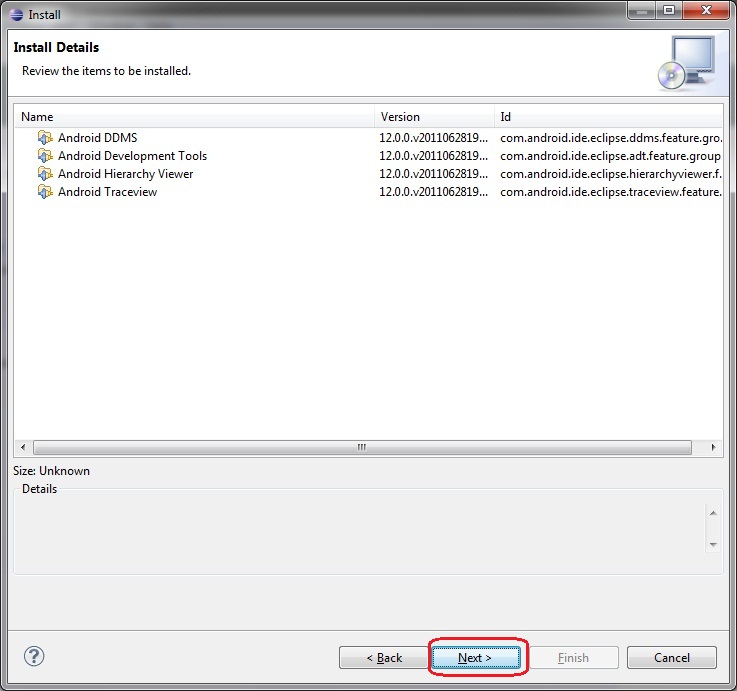
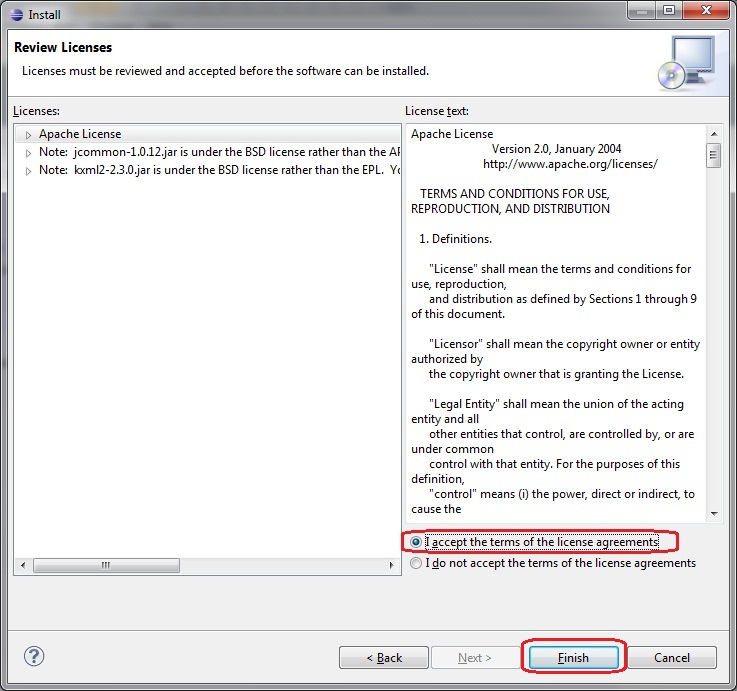
Read and accept the licence agreement and click Finish.
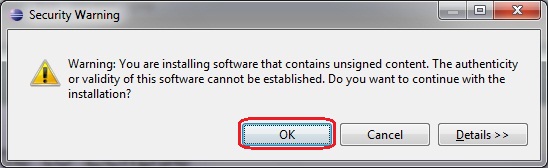
The download of components is starting. If the Security Warning that the authenticity or validity of the software can’t be established pops up, click OK.
On my computer the process lasted approximately a minute.
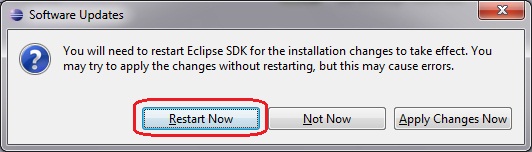
After it is finished you have to restart Eclipse - Restart Now
After restarting Eclipse if shows the following dialog:
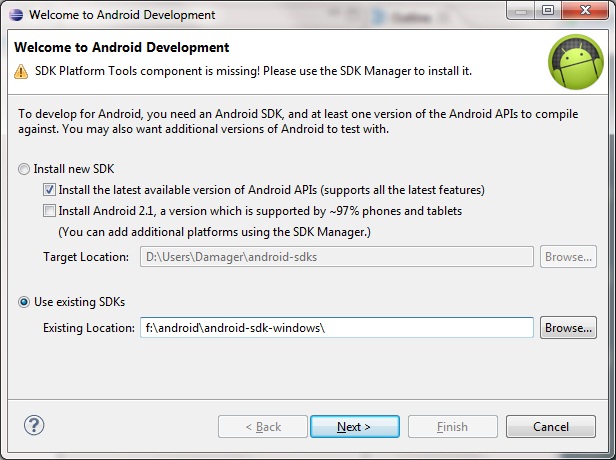
The first item is for those who, for some reason, didn’t download and install SDK in the second step of these instructions. Eclipse can do it on its own. And additionally it will download the latest android platform. It also offers to download 2.1 platform as the most widely supported platform.
We are interested in the second item - it allows us to point there we extracted in the step 2. It’s <Android>\android-sdk-windows. Press Next
In the window that appear choose whether to send statistic to google or not. It will not influence the work at all.
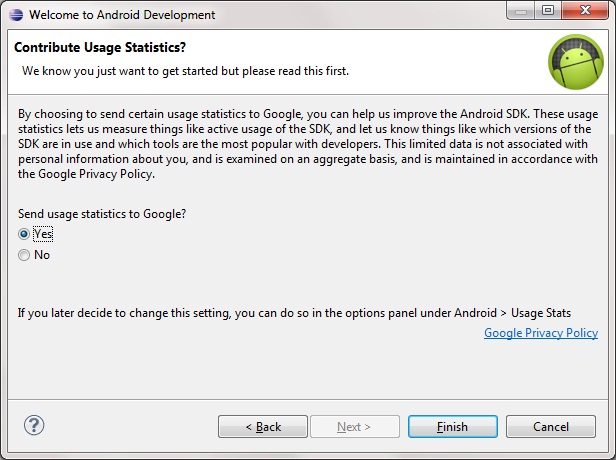
Choose Yes or No and click Finish.
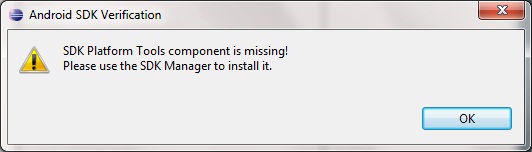
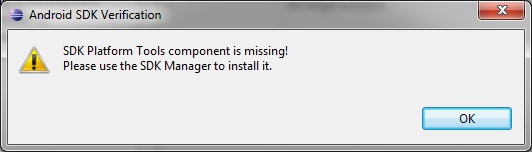
Then we are informed that our SDK Platform Tools component is missing and they offer us to go to SDK Manager and download it. Press OK.
5. Android Platforms
Let’s launch SDK Manager
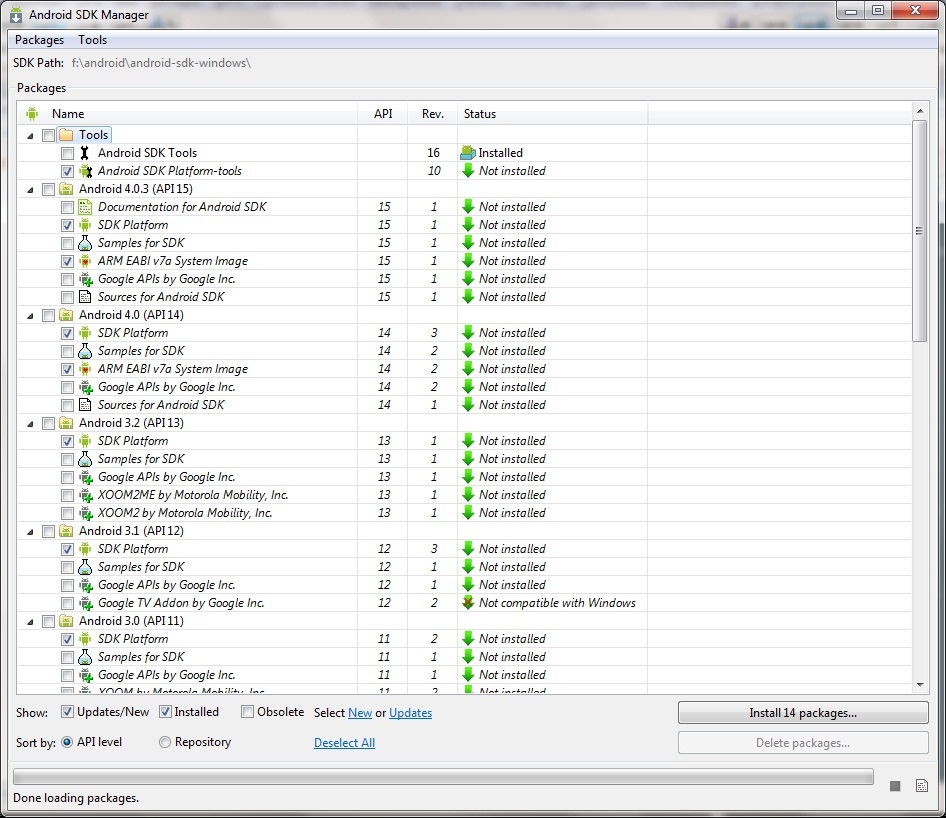
It is proposed to choose components for download via the internet. On the right side for each component is stated whether it’s downloaded or not. Ok, so what will we download?
It is obligatory to download the contents of the Tools folder that hasn’t been downloaded yet. Also in the Extras folder (at the end of the list) tick Android Support Library item if it’s there.
For all the other Android versions you need tick only SDK Platform. Take into account that each platform can weight up 150 MB!!! If you do that at work system administrator will come for you :) For the first lessons we will need only platforms 2.2 (API 8) and 2.3.3 (API 10). For now you can download only them.
For platforms with versions 4.X choose SDK Platform and ARM EABI v7a System Image (for work with emulator).
If you have enough traffic add these items for each platform:
Samples for SDK - source code of sample applications
Google APIs by Google Inc. - this is needed if you would like to work with Google applications (Maps, Navigation etc.)
If you don’t care about the traffic at all - tick everything. But you will have to wait for a long time. And it would weigh more than one gigabyte.
When you have selected everything - click Install X packages in the bottom right corner.
In the new window we accept that you want to download it all - Accept All. Here you can also see the size of components and reject some.
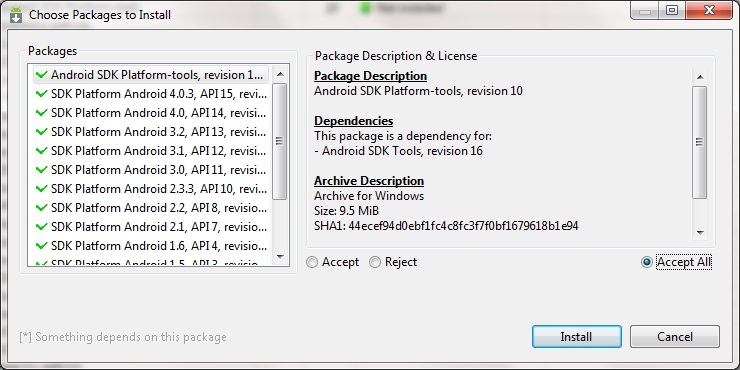
Press Install - the indicator was displayed and the log opened. With my choice of components, I’ve been waiting for 20 minutes. After this process the phrase Done Loading Packages appeared.
The installation has finished. Close the log and SDK Manager.
Just for the info - my new components weighted 1,5 GB.
After this restart Eclipse and that’s it. After performing these steps we have got a development environment in which we can code Android applications. Maybe these actions may seem dull and boring but, unfortunately you cannot avoid this. It will be much more fun further. If something doesn’t work or the error pops up - try googling it, you are for sure not the first one who is facing this problem and there is already a solution on the internet. Or write on the forum.
In the next lesson we will setup Android Virtual Device (AVD) in Eclipse, create our first application and launch it. AVD is a smartphone emulator with Android operating system, where you can run and test your applications. So there is no point connecting your smartphone each time ) We will also look through the application structure.
P.S.
If the following window didn’t appear:
or you accidentally closed it - everything is fine. You can specify SDK directory manually.
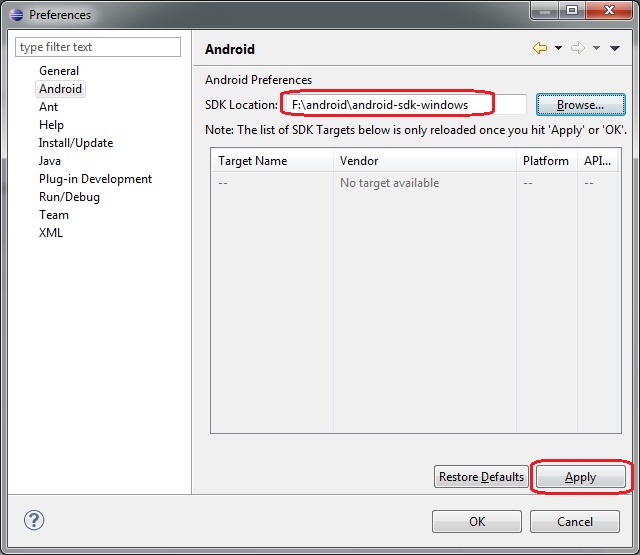
In Eclipse go to Windows -> Preferences
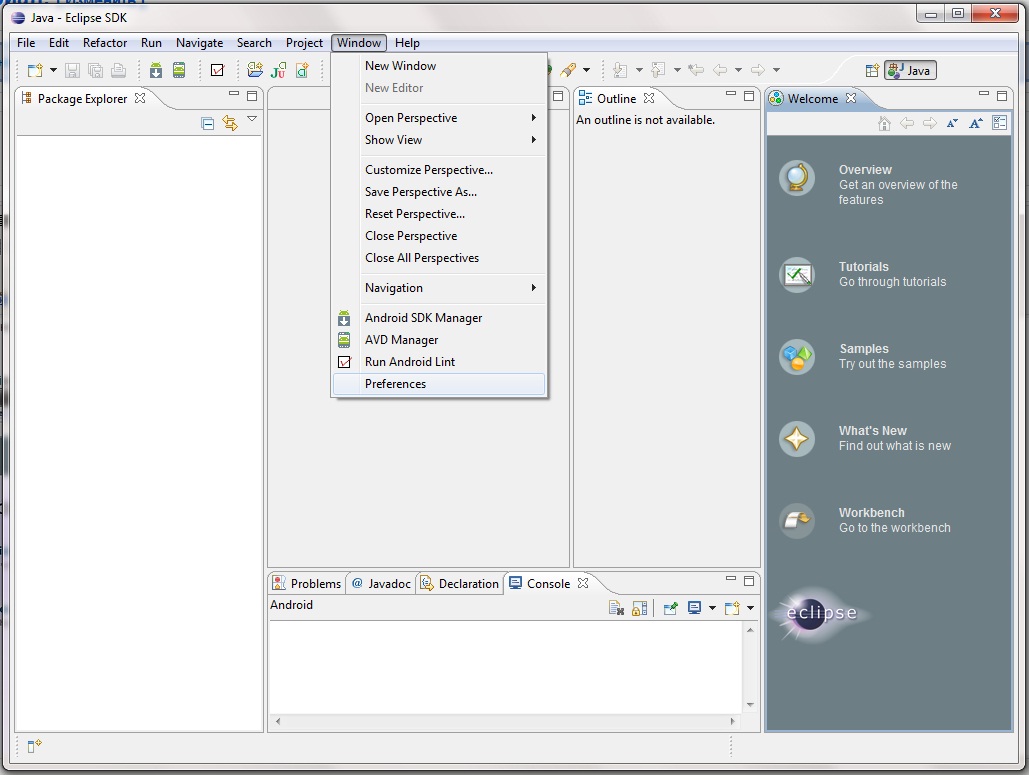
Choose Android on the left, click Browse
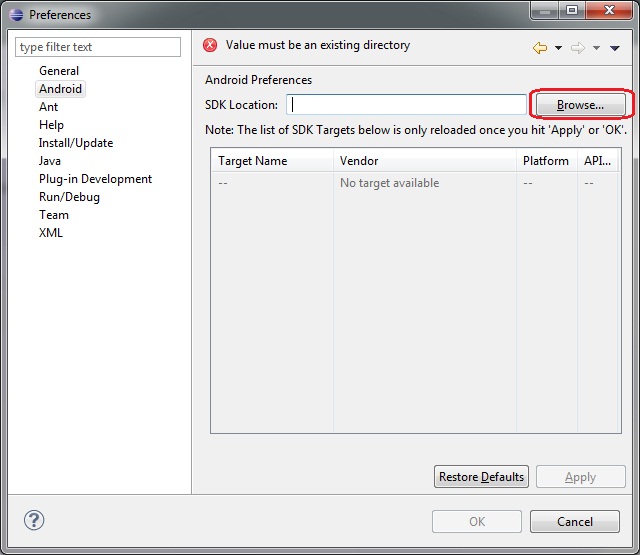
Specify the directory where we extracted SDK - <Android>\android-sdk-windows. Click Apply.
We are told that the component is missing - close this message and click OK
I got this window popped up:
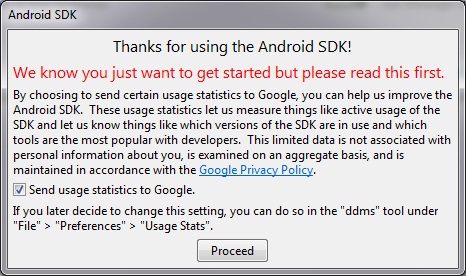
It informs, that if we want to improve the product, we can send Google the usage statistics. It’s up to you and you can always change it in your preferences. I left the tick, I am not greedy )
After this you can go to SDK Manager (In Eclipse go to Window > Android SDK Manager) and download platforms.
Присоединяйтесь к нам в Telegram:
- в канале StartAndroid публикуются ссылки на новые статьи с сайта startandroid.ru и интересные материалы с хабра, medium.com и т.п.
- в чатах решаем возникающие вопросы и проблемы по различным темам: Android, Compose, Kotlin, RxJava, Dagger, Тестирование, Performance
- ну и если просто хочется поговорить с коллегами по разработке, то есть чат Флудильня

")